top of page


Unreal Engine 4 - Systems and Scripting
-
Engine: Unreal Engine 4
-
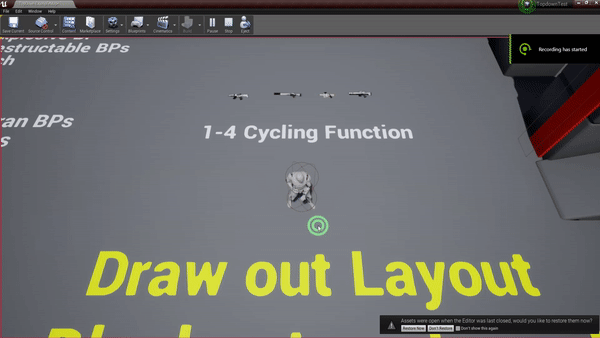
Goal: To create and learn more on Blueprinting, Blueprint Actors, State Machines and Enumerations. Also, create a small playable top-down shooter demo using the created assets.
-
Team: Solo
Basic Character Blueprinting


Pawn BP
Pawn Controller

- Movement
- Jumping
- Sprinting
- Crouch
- Camera Zoom In/Out
- Pawn Rotation
Most of the Pawn BP will be brought over to the Player Controller. Multiple Pawns (characters) will use the same data for basic functions. The Pawn BP can then be used for relative scripts, that only affect it.
The Weapon Enumerator System has remote calls within the Pawn BP. Currently, there is a 'Pickup' and 'Switching' and 'Active' weapon system. More detailed information is mentioned later in the page. This function is used as a "gateway" for shooting. The original Resident Evil series followed a similar approach to shooting.
Currently there is an Aim Function, but there are no Animation Sets for it. This is in basic Boolean form currently. This State reduces the Pawn Speed using the Aiming Speed variable.
The Pawn Rotation is currently basic. It is relative to the Mouse Cursor position. Eventually, there will be additional Blend Spaces for the upper and lower half of the pawn.
The Crouch and Sprinting functions are simple Boolean values created within the State Machine, such as Crouch Pressed, Crouch Unpressed, Default Speed, Sprint Speed.
There is also a Camera Zoom system, which affects the FOV value. It only uses three variables which are Minimum Field Of View, Maximum Field of View, and Default Field of View. I did this by attaching the logic to the Spring Arm of the Player Camera.
Camera Zoom In/Out
Weapon Pickup/Switch/Jump

Basic State Machine (Movement)

Basic State Machine

Event Graph

- Movement States
- Movement Rules
- Execution for States/Rules
- Variable Plugins
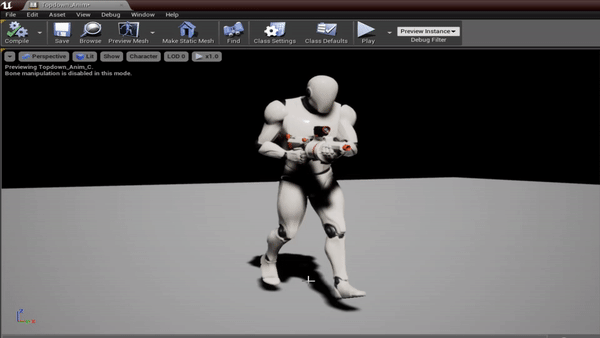
Idle State
This is the default state for the player's active Pawn. The player can Aim within this state. This is a basic state, and leads to Crouching, and Jog states from input.
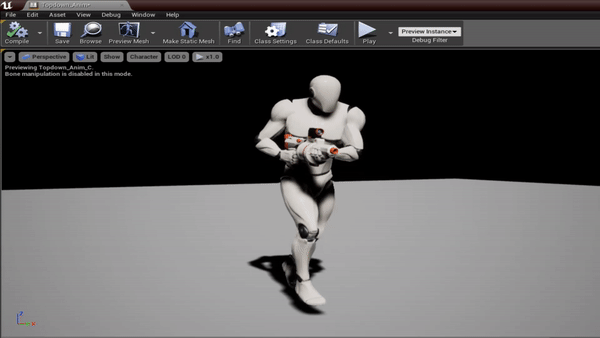
Jog State
The Jog state is used with the inputs WASD, for directional navigation. The player can Aim within this state, but at a reduced speed. This state can leads to Idle, and Crouch states.
Crouch/Crouch Walk States
These two states are when the player crouches, using 'Left Control' key. The player remains in the Crouch state when not moving. They transition to the Crouch Walk state when moving, while holding down the input. The player can Aim within both states. These two states lead back into Idle, or Jog states.
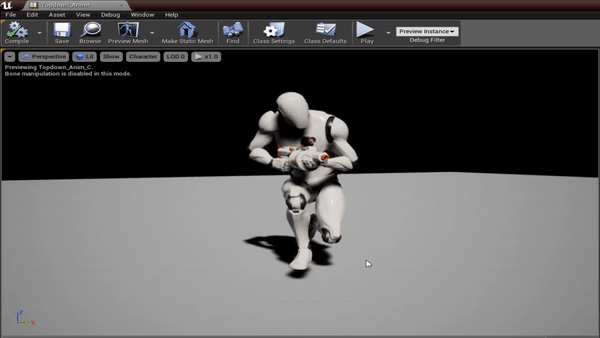
Run State
Currently, the Run/Jump state is a single state. This will be changed. The player can hold down 'Shift' key while in the Jog state to transition into this state. The player cannot Aim within this state. This allows the player to run at higher speeds. This state leads back to the Jog State.
(This will be renamed to Sprint state, to avoid confusion)
Jump State
This is is the same for the Run state currently. The player can only access this state from the Jog state. The input required is the 'Space key'. The player cannot Aim while Jumping.
(Aiming will be renamed 'Aim_suffix' for the current state the player is in. It is currently not a state, but instead a Player Controller BP.)
E.g. - Aim_Crouch, Aim_Crouch_Walking, Aim_Jog
Jog State
Crouch Walking State
Jumping State
Weapon System
Enumerator Table (Actor)

Weapon Enumerator (BP)

Enumerator Table (Actor)
This is the first step to working with Enumerators. First, you need to create a list of things in an independent actor to draw from. You have to ask yourself, "What are the elements in the list?"
After you make the simple table with your elements, you can then work on the scripting for the Enumerator within a BP actor.
Weapon Equip Enumerator (BP)
This enumerator is scripted with Blueprint and is an extension of the Enumerator Table (Actor) that has been created prior. This elaborates on that data, and allows for scripting to specifically run what you want it to do logically.
Enumerators can be used for a plethora of things, and keeps work organized with remote actors drawing from them in various BP actors, such as the Player Controller.
You wouldn't want to script all this logic in the Player Controller, that would be messy -- it's easier to divide it up into Actors to draw from.
Closeup - Assault Rifle

Pickup
There is a total of 4 Weapon Classes currently being used. These Weapon Classes are used to allow the player to "hold" onto these weapons when they walk over them. Picking up a Weapon sets the Boolean value to true for that weapon in the Player Controller (useful for last stage in system).
Player Controller Input
Each Weapon Class has a numbered hotkey of 1-4. The player can switch between only Weapon Classes that have been picked up. After the player gives input for their selection, it then runs through the Equip System.
Weapon System Attachment
The first step within the process is to bring the weapon mesh into the pawn's hand. This happens with the AttachToComponent node, which is redirected to the Weapon BP actor, and Pawn's socket.
Masking
This is a simple step and Masks out, and renders all other weapons invisible, but keeps that specific weapon visible. There are much better ways going about this step, but for prototyping I took this approach.
Sound Checks and Booleans
This last step takes into account if the player already has the weapon selected. For example, if the player already has the Assault Rifle present, and keeps smashing the '1' button (Assault Rifle Hotkey) they will not get anymore sounds. This only happens when the player switches to a NEW weapon. This is done through a Boolean variable that is determined by weapon switching status, such as 'HasAssaultRifleEquipped' in this case.
Weapon Pickup Classes
Assault Rifle

Shotgun
Sniper Rifle


Grenade Launcher

Pawn Skeleton - Sockets

To Do
I need to finish First Pass on:
- Character Blend Motions (Top and Lower)
- Bullet Trajectory System (Basic)
- Aiming State
- Video, showcasing this stuff in action

Currently, there are 3 sockets for the Player Pawn's Skeleton.
These are:
- Left_Hand_Socket
- Right_Hand_Socket
- Head_Socket (Planned to be used at a later date)
These are the sockets used within the Enumerator system to attach the weapons to.
More to come!

Exposive Barrels!
Doors!

Ladders!

Breakable Windows!
(Batman not included)
bottom of page